01. Basic set-up
BEFORE READING: This tutorial covers the essential information discussed in this section (Package Installation & First Steps).
If you're new to using Omni Save, we highly recommend watching it!
STEP 01 – INSTALLING UNITY
If you already have a version of Unity that supports Omni Save(2021.1.16 or above), you can skip to the next step. Otherwise, please visit the Unity Download Archive to select and install a compatible version.
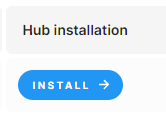
Afterwards, download and install Unity Hub, which helps you manage all your projects and versions in one place. If you already have Unity Hub, you'll be directed to its download page.
Keep in mind that the asset was made using Unity 2021.1.16.
STEP 02 – PROJECT CREATION
After installing your desired version of unity, open the Unity Hub.
Select "New Project" under "Projects" in the menu. A new window will then open as a result.
The render pipelines that Unity provides will be available for you to choose from here. The default standalone render pipeline was used to create the package. Choose 3D out of all the possibilities if you want to maintain all the materials and graphic settings for the project that the asset includes.
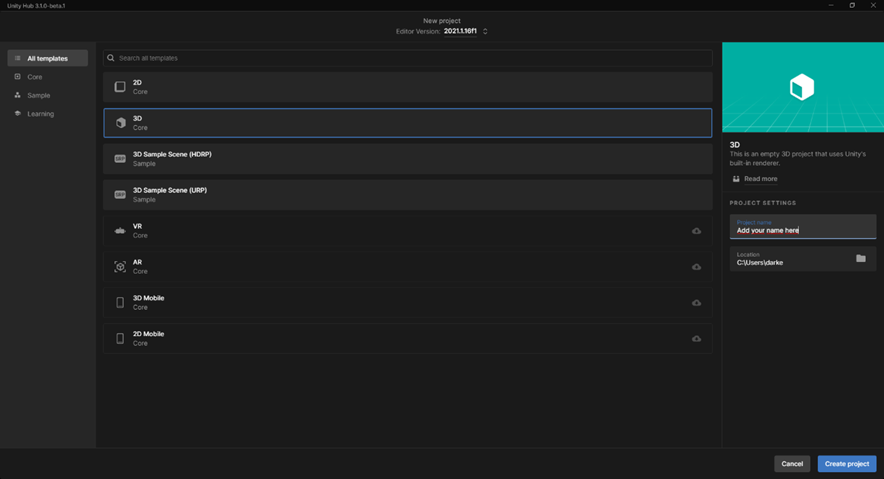
You can select a different render pipeline, but keep in mind that you will need to translate each material into the materials used by that render pipeline.
STEP 03 – IMPORTING PACKAGE
Once Unity is fully loaded, we´ll import the asset. To do that, go to the Unity Package Manager (Window/Package Manager).
On the new window, select “My Assets” which stands for the assets you own.
Search “Omni Save” and click download.
Once it is downloaded, click import.
Following these steps, your project ought to be operational. If you have any problems or inquiries, you can get in touch with Cowsins™.
Support
E-mail : cowsinsgames@gmail.com
Discord: https://discord.gg/mqdnyYZ894
Twitter: https://twitter.com/cOWsins
Discord is the preferred support method and response times are faster.
Last updated